Step-by-Step Tutorial on Installing LCD Screens
Installing LCD screens, whether for personal use, business, or educational purposes, can seem daunting. However, with the right tools and a step-by-step guide, you can successfully install an LCD screen with minimal hassle. This tutorial covers everything you need to know about installing LCD screens, ensuring you achieve a professional setup.
Gather the Necessary Tools and Hardware
- Before you start, make sure you have all the necessary tools and materials:
- LCD screen or LED screen
- Wall mount bracket (if wall-mounting)
- Screws and anchors
- Screwdrivers (Phillips and flat-head)
- Drill and drill bits
- Stud finder
- Level
- Measuring tape
- HDMI or other necessary cables
- Power strip or surge protector
Choose the Installation Location
Select an appropriate location for your LCD screen. Consider the following factors:
- Viewing Distance: Ensure the screen is positioned at an optimal viewing distance based on its size.
- Height: The center of the screen should be at eye level when seated.
- Lighting: Avoid direct sunlight or glare on the screen.
- Power Source: Ensure there is an accessible power outlet nearby.
Prepare the Wall (If Wall-Mounting)
If you are wall-mounting your LCD screen, follow these steps to prepare the wall:
- Locate Studs: Use a stud finder to locate the studs in the wall. Mark their positions with a pencil.
- Measure and Mark: Use a measuring tape and level to mark where the wall mount bracket will be installed. Ensure it is centered and level.
- Drill Pilot Holes: Drill pilot holes at the marked positions on the studs. This will make it easier to screw in the wall mount bracket.
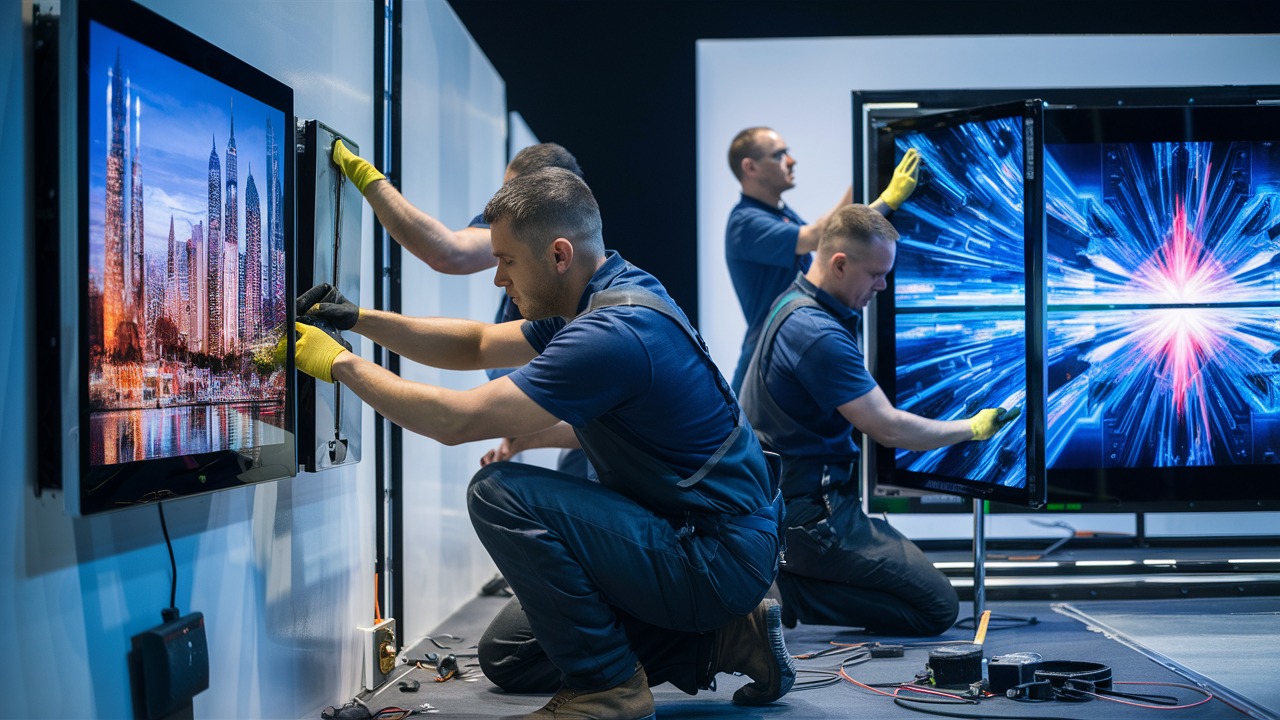
Attach the Wall Mount Bracket
- Secure the Bracket: Align the wall mount bracket with the pilot holes and secure it to the wall using screws and anchors. Ensure it is firmly attached.
- Attach Mounting Arms: Attach the mounting arms to the back of the LCD screen. Most screens have VESA (Video Electronics Standards Association) mount compatibility, so align the arms with the VESA holes and secure them with screws.
Alternative Mounting Options:
Wall mounting is a popular choice, but there are other ways to install your LCD screen depending on your needs and preferences. Here are a couple of alternatives:
- Desk Stand: Many LCD screens come with detachable desk stands that provide a sturdy and adjustable base for placing the screen directly on your desk or workstation.
- Tabletop Stand: Third-party tabletop stands offer more flexibility in terms of height adjustment, tilt, and swivel. This can be ideal for conference rooms or situations where multiple people need to view the screen comfortably.
Mount the LCD Screen
- Lift and Position: With assistance, lift the LCD screen and position it on the wall mount bracket. Ensure it clicks or locks into place.
- Secure the Screen: Double-check that the screen is securely mounted and does not wobble. Tighten any necessary screws or locks.
Connect the Cables
- HDMI/Other Video Cables: Connect the HDMI or other video cables from your devices (e.g., Blu-ray player, game console, computer) to the corresponding input ports on the LCD screen.
- Power Cable: Connect the power cable to the LCD screen and plug it into a power strip or surge protector.
- Cable Management: Use cable ties or clips to organize and hide the cables for a clean and professional look.
Configure the Display Settings
Once the LCD screen is mounted and connected, it’s time to configure the display settings:
- Turn On the Screen: Power on the LCD screen and connected devices.
- Select Input Source: Use the remote control to select the correct input source (e.g., HDMI 1, HDMI 2) based on the connected device.
- Adjust Picture Settings: Navigate to the display settings menu to adjust brightness, contrast, color, and other picture settings to your preference.
Test the Setup
- Play Content: Play content from various sources to ensure the picture quality and sound are satisfactory.
- Check Connections: Ensure all cables are securely connected and there are no signal issues.
- Adjust as Needed: Make any necessary adjustments to the screen position, settings, or connections.
Additional Tips for Installation
- Wall Type: If installing on a concrete or brick wall, use appropriate masonry anchors and drill bits.
- Heat Dissipation: Ensure there is adequate ventilation around the LCD screen to prevent overheating.
- Sound Setup: Consider additional sound equipment (e.g., soundbars, external speakers) for enhanced audio quality.
- Regular Maintenance: Dust the screen and surrounding area regularly to maintain optimal performance and longevity.
Safety Precautions
- Avoid Overloading: Do not overload power strips or surge protectors. Use a dedicated outlet if necessary.
- Secure the Area: Ensure the installation area is safe and free from tripping hazards or unstable furniture.
- Follow Manufacturer Instructions: Always refer to the manufacturer’s installation guide for specific instructions and recommendations.
Installing an LCD screen requires careful planning and execution, but with the right tools and steps, you can achieve a professional and secure setup. Whether you’re installing a screen for home entertainment, a business presentation, or an educational environment, following this tutorial will help you get the most out of your LCD or LED screen. By choosing the right location, securely mounting the screen, and properly connecting and configuring the devices, you can enjoy a high-quality viewing experience tailored to your needs.
Ensure to read through all steps carefully before beginning your installation process. Taking the time to plan and prepare will result in a successful setup.


Leave Your Comment